Restoring an Eames Lounge Chair and Ottoman: A Personal Guide to Breathing New Life into a Classic
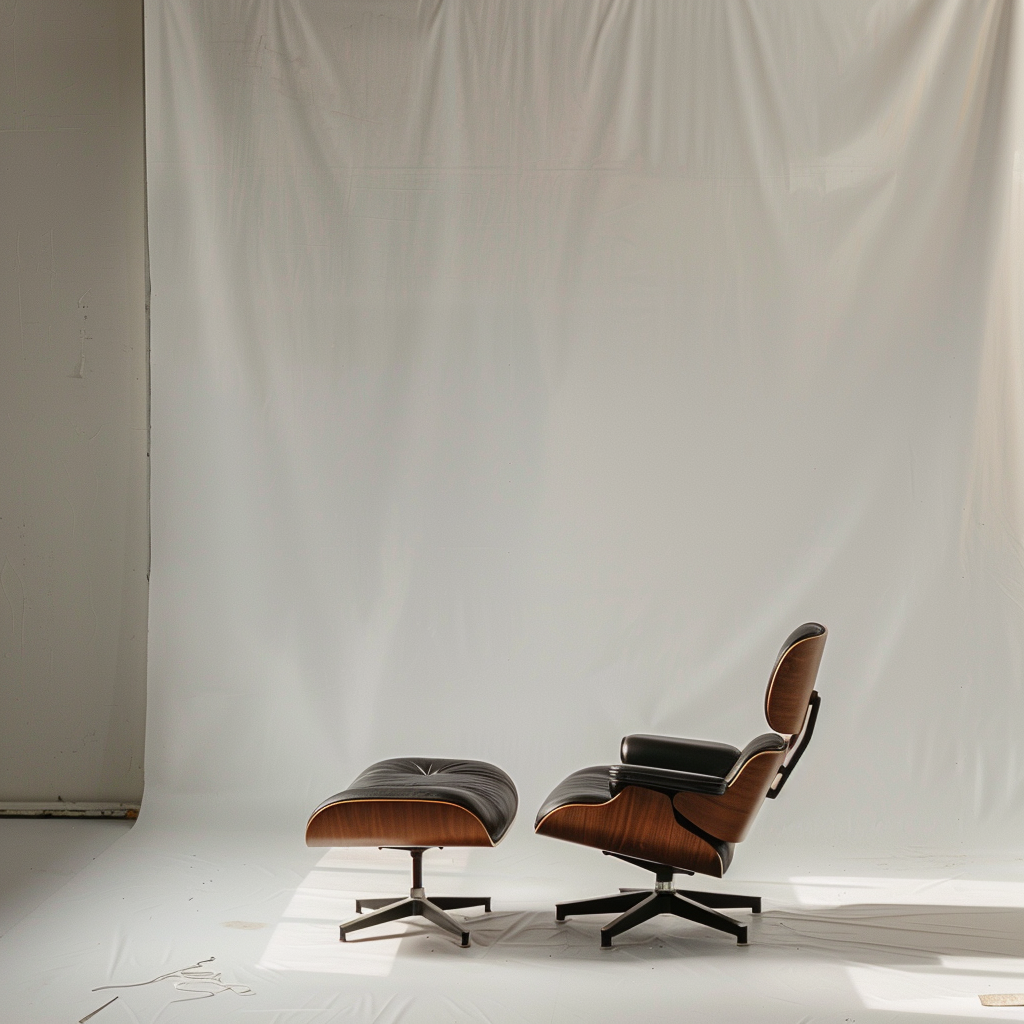
My new, old Eames Chair and Ottoman
There’s something uniquely satisfying about finding a piece of history and giving it a second life. I recently stumbled upon an Eames Lounge Chair and Ottoman in one of Copenhagen's furniture thrift stores—a spot I visit often to hunt for vintage treasures. This particular chair had clearly seen better days, but its bones were solid, and I knew it could be a beautiful piece once again with the right care. Here’s a bit about the journey I took to restore it, along with some tips if you're considering a similar project.
Why the Eames Lounge Chair?
First off, an Eames Lounge Chair is a design legend. It’s one of those iconic pieces that stands out for its comfort, craftsmanship, and history. Designed by Charles and Ray Eames in 1956, this chair represents the perfect blend of luxury and practicality, making it a true mid-century masterpiece. For me, its worn look was part of the allure; I was drawn to the idea of preserving its history while bringing back its original charm.
What to Look for When Buying
When buying a used Eames, it's all about the details. Here are a few things to keep in mind:
Frame Condition: The wood veneers are typically made of rosewood or walnut, both known for their beauty and strength. Look closely at the veneer for cracks or severe warping.
Cushioning: Leather upholstery tends to wear over time, especially on older chairs, but it’s usually replaceable. Keep in mind that authentic Eames cushions are crafted to be removable, which makes them easier to refurbish.
Metal and Joints: Check the base and armrests. The metal frame and joints should be intact, with no major bending or rust, as these are more challenging to repair.
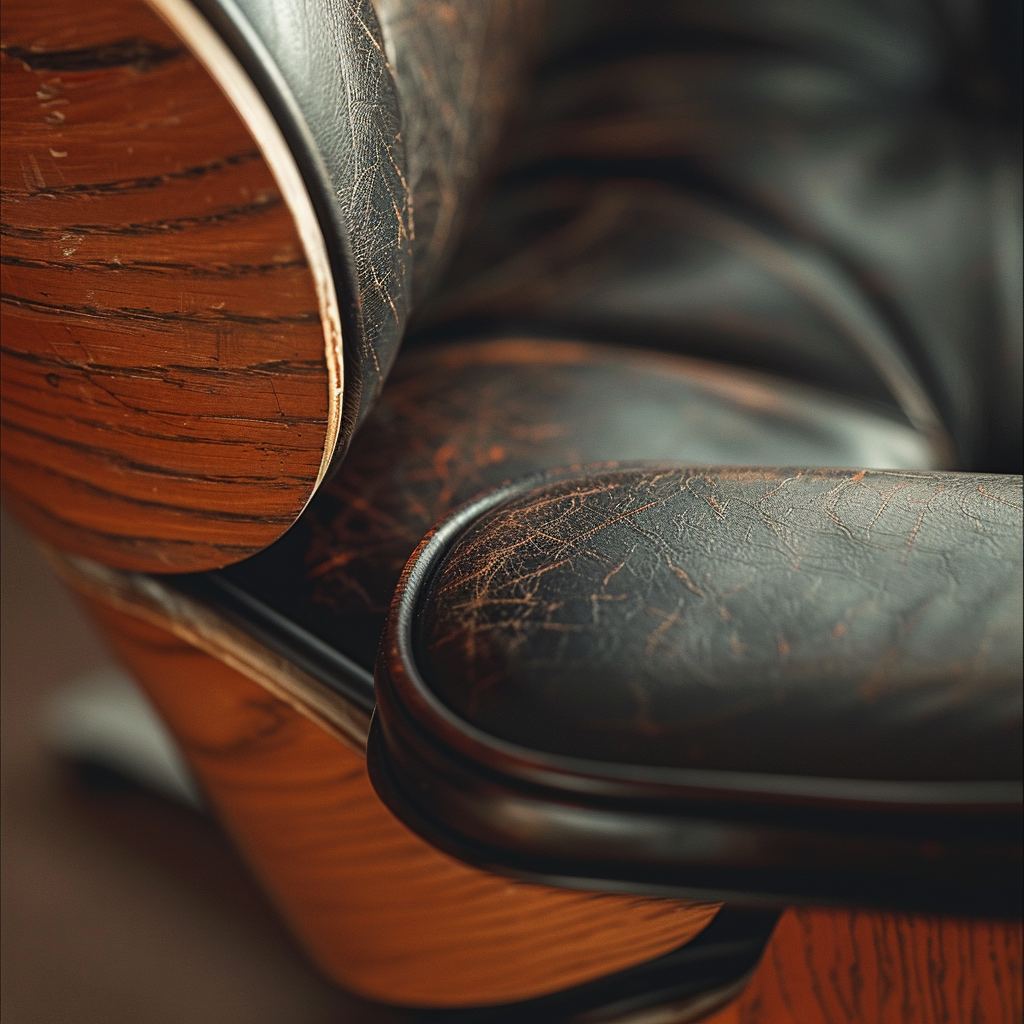
I was lucky enough to find mine with minimal veneer damage, though the leather was cracked and faded from years of use. These issues were manageable, though, and in many ways, they added character.
Bringing It Back to Life
Refurbishing an Eames Lounge Chair isn’t as intimidating as it sounds, though it does require some patience and a few specific supplies. Here’s how I approached the project:
Wood Restoration: The first step was giving the wood a light sanding to smooth any scratches and rough patches. Afterward, I applied a quality wood polish, which brought out the deep, warm tones of the veneer.
Leather Repair: Leather is one of those materials that often needs some TLC. The leather on my chair was pretty worn, but I chose to preserve it rather than replace it entirely. After cleaning, I used a leather conditioner, which did wonders for revitalizing the surface and making it softer.
Polishing the Metal: For the metal base, a good polish was all it took to restore the shine. A chrome cleaner did the trick, removing any signs of tarnish and making the whole chair feel more cohesive.
Reassembling and Final Touches: After each part was cared for, it was time to bring the chair back together. The final result looked fantastic—the wood gleamed, the leather had regained its richness, and it still had that perfect, worn-in comfort.
Reflections and Final Tips
If you’re considering buying a piece like this, don’t worry too much about surface wear—those are often the easiest things to fix. Also, be sure to check thrift stores and vintage markets regularly, as gems like this can pop up when you least expect it.
Restoring my Eames Lounge Chair was not only rewarding but also allowed me to truly connect with a classic piece of design history. So, if you come across one of these treasures, don’t hesitate to take on the challenge. The result is a unique piece you’ll cherish for years to come.


